
Installing a
Transmission Cooler
Begin:
To install a transmission cooler you will need only simple hand
tools and the cooler itself. There are a number of them out there
but one several of us have used fits nicely and works well. It's
a B&M 19,000 GVW unit and you can purchase it at many speed
shops or through mail order from Jegs or Summit Racing.
Most of the kits supply the fittings, however you may have to
adapt the fittings to your needs. Most of the supplied fittings
are 5/16" fittings, but on the GP you'll need 5/8"
fittings. Take care of this adaptation in advance or you won't be
driving the vehicle anywhere.
Optional: When
installing the cooler, some believe it is also good to switch to
synthetic transmission fluid and change the filter. Some of us
use Red Line ATF (Dexron III equivalent) for this purpose. It is
supposed to keep your transmission cooler and operating better
than standard fluid, but will run you about $8 per quart (and
you'll need 8 or 9 quarts) so it can be a bit expensive. Since
you'll have the car up anyway, this is a good time to do this
upgrade. See the Helm's manual for more details on changing the
fluid.
The Upgrade:
You will need to jack the front end up or put it up on ramps.
Either way, make sure it is secure. You will be crawling under
it, and you definitely don't want your GP to fall on you! Make
sure it's nice and high so you can work comfortably.
To begin, remove the lower air dam at the base of the radiator.
This is held on with about 6-8 bolts that are right on the bottom
and easy to see.
Decide which location you would like to use to tap into the fluid
lines. They run from the transmission to the right (passenger)
side of the radiator. The return line runs from the top of the
radiator to the pan and the supply runs from the transmission
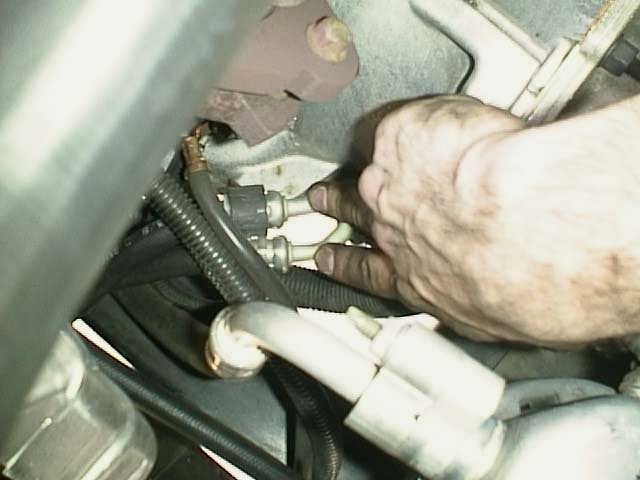
housing to bottom of the radiator. The bottom of the transmission
has the two lines coming out from it, and the lines are as shown
in the following picture (click for a larger view):
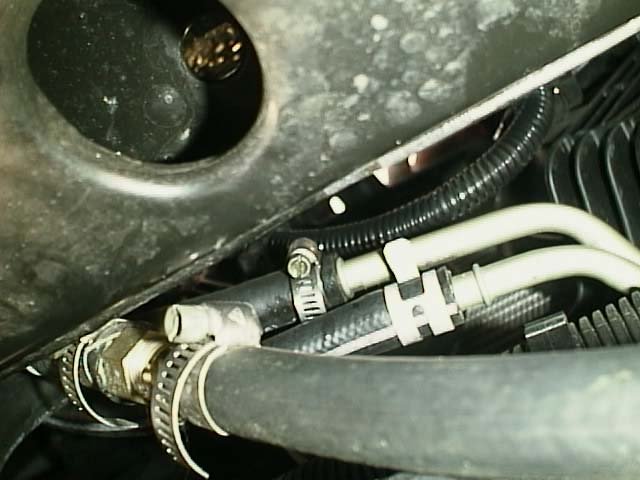
Here's a view of the same lines, this time looking at them from above the car in-between the radiator and the engine (click for larger view):
It is normally preferable to have the external cooler plumbed in series with the return line. This provides the most efficient cooling by about 5%. However, the port at the top of the radiator where the return line exits is kind of a tight squeeze to work with, so you can tap into it at the transmission but this requires running longer fluid lines back to the radiator area (some of us have done this with no problems). If you plan to do this, you may tap directly into the existing connection near the radiator as shown in the following photo (click for larger view). In the photo, notice that I cut off the existing hose and attached the hose to be connected to the cooler instead. In the picture you can also see the attachment I made in the other line.
Alternatively,
plumb into the supply line. It has slightly less cooling
efficiency but simplifies the installation a little bit (no
picture available).
Remove the appropriate lines and hook up the fittings. Be sure to
seal any non-flare fittings or they might leak.
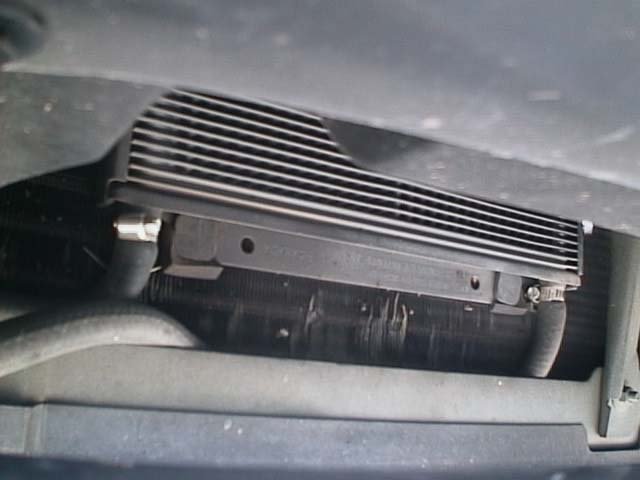
Mount the cooler low on the front of the radiator using the
supplied fasteners (preferably to the side you are planning on
running the lines to) as shown in the photo below (click for
larger view):
Run the lines
from the fittings to the cooler. Be sure the are not hanging down
or rubbing on an edge surface.
Before you install the air dam, you might need to trim it a bit
to allow clearance for the lines. Re-install the air dam.
Crank it and allow pressure to build. Check for leaks at every
point in the fluid flow. If there are leaks, shut off the vehicle
and fix them. Otherwise take the car for a spin and heat up the
fluid, (which should take about 10 minutes). Come back and check
for leaks again, and repair if necessary.
Questions? Ask Steve Calbert (scalbert@flwsoutheast.com)